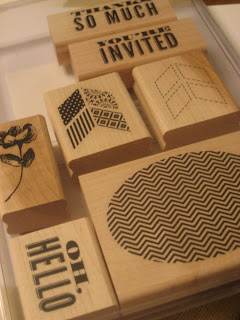
I just received a big, fun order from my favorite Stampin' Up demonstrator and got to thinking about using up some of the leftovers.
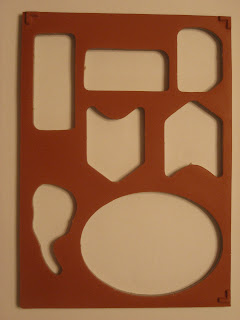
In case you didn't know, Stampin' Up stamps come with some assembly required and you end up with a foam-backed rubber piece like this at the end.
I thought I would just cut out some fun shapes for my daughter to use as stamps. It took me a few hours to figure out what I would adhere them to, since I don't have extra stamping blocks sitting around.
Then I saw these champagne corks that I had been saving for a different project - but they are perfect for little hands to hold onto. The Tim Holtz scissors were perfect for cutting the foam-backed rubber, but I found that straight cuts turned out much better than curves.
Just look at all the fun we were having! And since I ordered a wood mounted stamp set from Stampin' Up the adhesive was already on the foam. But if you ordered a cling rubber stamp set you could use something like Glossy Accents to adhere your cut shapes to the cork.
My daughter ended up with an "M", a heart, and something resembling an octagon because the circle looked terrible. But I couldn't let her have all the fun...
So I snipped off the corner alignment marks on the rubber, and squeezed them together to make an arrow or chevron stamp for myself. I'm thinking if I start now I can do an entire alphabet set. Just need a bunch more champagne corks. Who is willing to help me?!


Comments